Map a Network Drive

Click anywhere on the background to make sure ‘Finder’ is available at the top, on the left of the screen.
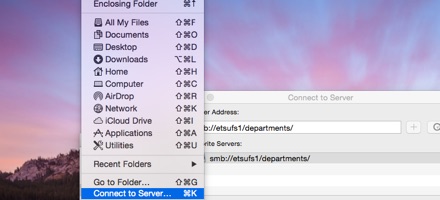
Click the ‘Go’ button. Scroll down and click ‘Connect to Server’.
Find the correct path for department or user...
smb://etsufs1/departments/DEPARTMENT NAME
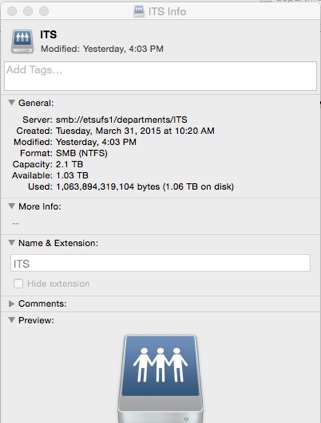
Find your department and select it...now you can see the exact path.
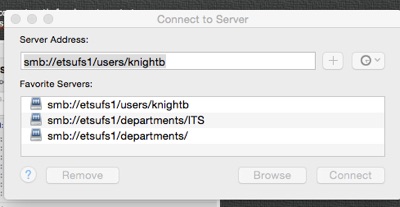
for Q Drives it is
smb://etsufs1/users/USERNAME
Click the “+” sign, and then click “Connect”.
Enter your password and username as a Registered User.
The next steps will connect you every time you login to your computer.
Click the system preferences icon in the dock.
In the system preferences menu click on “Users and Groups”
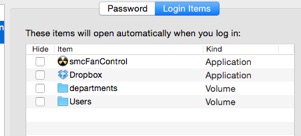
In the “Users and Groups” window click “Login Items”.
Unlock the padlock.
Add a Login Item by using the + to browse to the item (volume).
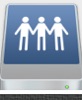
Locate the drive you want to connect to at login. IF, your Mac put an icon on your desktop that looks like this
you may be able to drag it to the Login dialog screen. If not browse to the HOME volume and select the Shared etsufs1 volume.
Once your network share appears in this list, it will automatically connect every time you login.