 Web Site Setup
Web Site Setup
Web Site Setup
| Dreamweaver handles web site management by producing both a LOCAL SITE and a REMOTE SITE | |
| Choose the SITE menu> MANAGE SITES | 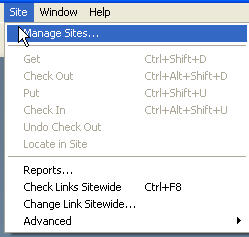 |
| The MANAGE SITE window opens and allows you to create a new site | 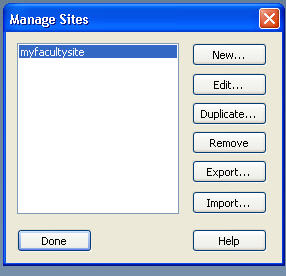 |
| Choosing a NEW site will open a window that takes you through the steps needed to set up a site | You will first setup a local site and then a REMOTE site |
| If your REMOTE site has existing files, you will want to GET those files to make a copy in your LOCAL SITE | |
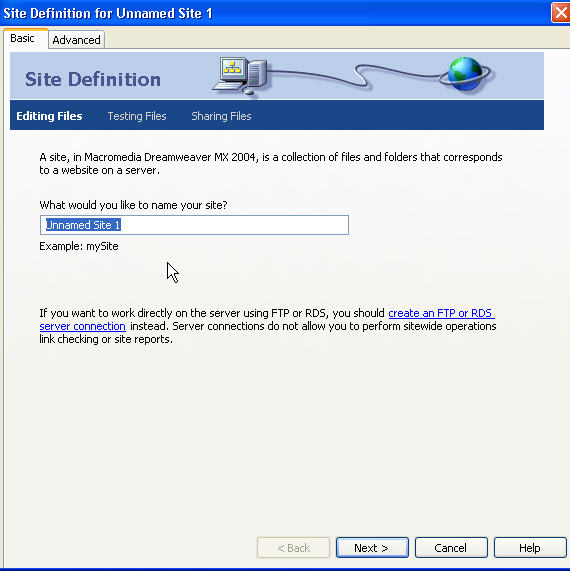 |
In this box you will name your LOCAL SITE |
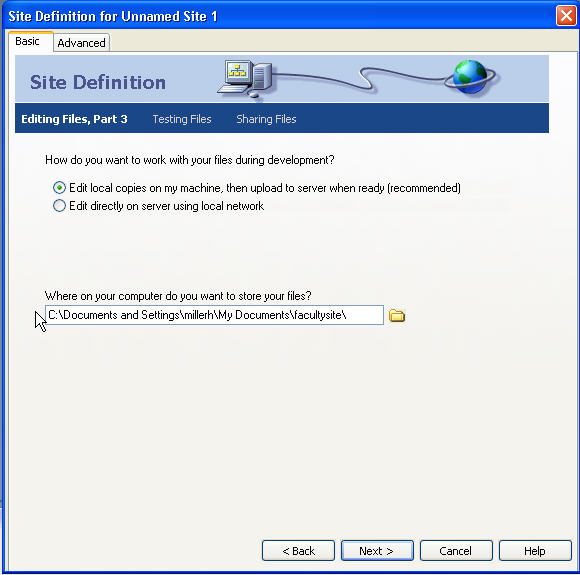 |
To fully utilize the site management features of Dreamweaver, you want to choose EDIT COPIES ON MY MACHINE.. In this window, you specify where you want the LOCAL site established.
|
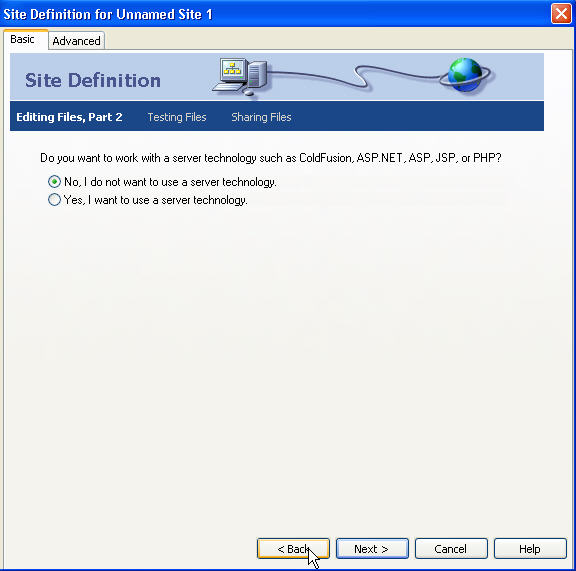 |
In this window you can choose to utilize server scripts (if your server runs scripts that work with Dreamweaver!!) |
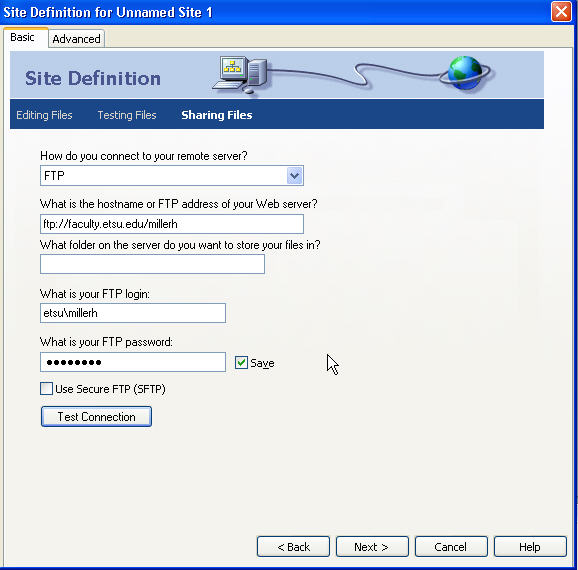 |
In this window you setup the linkage between the REMOTE and LOCAL sites. Notice that Dreamweaver is using FTP to upload files. Very Important- always TEST the connection before proceeding. |
 |
If you are working with others on a common web site, you should enable CHECK IN & OUT so that the modifications made on files can be monitored.. only one person can CHECK OUT a file! |
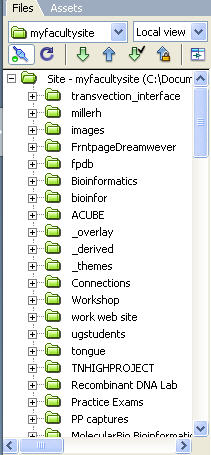 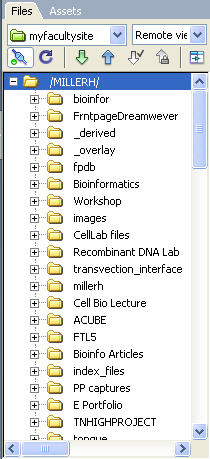 |
You must hit the CONNECT button to see the folders and files
In the right panels, one can see both the REMOTE and LOCAL sites |
